
Do You Need to Dethatch Your Lawn?
How to Tell & What to Do
Posted
March 14, 2024
Layers of dead grass, roots, and other debris—known as thatch—can accumulate between the soil and the grass blades. Dethatching is an essential lawn care task that involves removing this layer. This process helps promote a healthier lawn by improving air, water, and nutrient flow to the grass roots. Here’s how to determine if you need to dethatch your lawn and how to do it properly.
Determine if Your Lawn Needs Dethatching
Sometimes you can see excessive thatch buildup between your grass blades. But even if you can’t see it, there are still signs:
- Spongy or springy grass
- Hard soil that’s difficult to penetrate with a screwdriver
- Cut a small, triangular section of your lawn and examining the thatch layer. If it’s more than half an inch thick, it’s time to dethatch.
If you’ve determined your lawn does need dethatching, it’s important to start the process at the right time. Cool-season grasses—such as Kentucky bluegrass, fescue, and ryegrass—is best dethatched in early spring or early fall when the grass is actively growing. Warm-season grasses—like Bermuda grass, Zoysia grass, and St. Augustine grass—should be dethatched in late spring or early summer.
How to Dethatch Your Lawn
After you’ve determined your lawn needs attention and it’s the right time of year, there are several more steps to take before starting the dethatching process.
- Mow your lawn slightly shorter than usual to make it easier to remove the thatch.
- Water the lawn thoroughly a day or two before dethatching to soften the soil.
- Choose the right equipment. There’s a dethatching rake, machine, or a power rake. The right tool depends on the size of your lawn and the amount of thatch buildup. A dethatching rake works well on small lawns with minimal thatch. For larger lawns or thick thatch, a power rake or dethatching machine may be necessary.
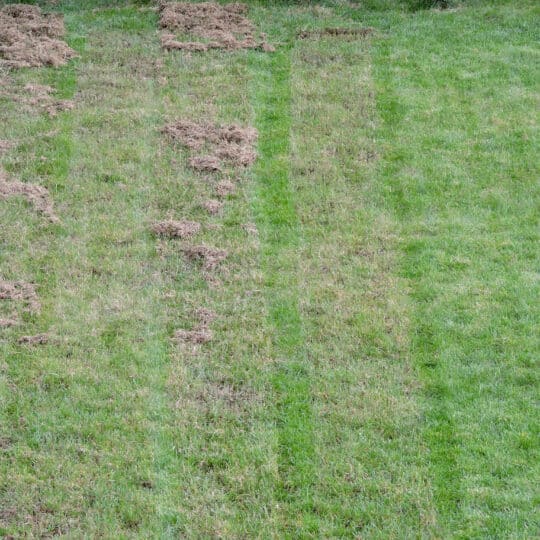
- Once your lawn is prepped it’s time to dethatch. Work systematically across your lawn, making overlapping passes with your chosen tool to ensure thorough coverage. Avoid removing more than a third of the grass blades during dethatching, as this can stress the lawn.
- Clean up debris. Because you don’t want more thatch, right? Rake up the loosened thatch from the lawn to prevent it from smothering the grass and inhibiting growth. Since thatch is composed of natural material, you can compost it or dispose of it according to local regulations.
- Overseed and fertilize. If your lawn is thin or patchy after dethatching, consider overseeding to promote new grass growth. Fertilizing can also help the grass recover and fill in any bare spots.
- Water deeply. Help your lawn recover from the stress of the process with a good, long drink. Now that you’ve improved circulation throughout the grass, moisture has a better chance of reaching grass roots.
- Maintain and monitor your lawn’s heath. Keep a regular watering, mowing, and fertilizing schedule to keep your lawn healthy and prevent thatch buildup in the future. If you do notice more signs of stress or thatch, contact a lawn care specialist for assistance.
Dethatching your lawn can help improve its health and appearance by promoting better air, water, and nutrient flow to the grass roots. By following these steps and being mindful of your lawn’s needs, you can ensure a lush and healthy lawn for years to come.

Download Your FREE Fall Recovery Guide
Summer’s extreme conditions can take a toll on your grass and its health. Take some time to learn how to bring your lawn back to life. This handy guide teaches you what needs to be done for a full fall recovery.